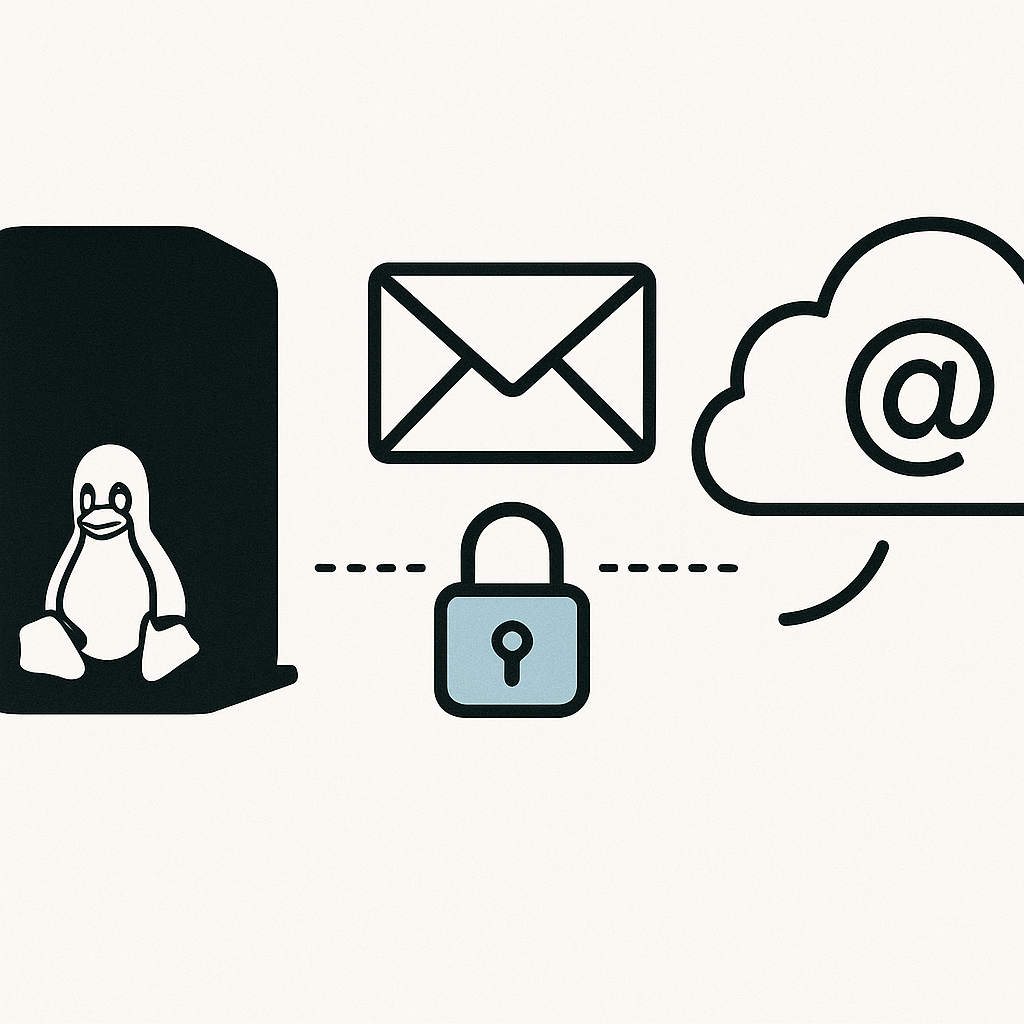
How to Set Up a Third-Party Mail Relay with Postfix
Learn how to configure Postfix to relay mail through a third-party SMTP provider securely and efficiently, including TLS and authentication settings.
TL;DR
Want Postfix to send email using a reliable third-party SMTP provider like SendGrid, Mailgun, or Gmail?
Configure relayhost, set up SASL authentication with your SMTP credentials, and enable TLS for secure delivery.
sudo vim /etc/postfix/main.cf
# Set relayhost and enable authentication
sudo vim /etc/postfix/sasl_passwd
# Add your SMTP credentials
sudo postmap /etc/postfix/sasl_passwd
# Encrypt your password file
sudo systemctl restart postfix
📬 Why Use a Third-Party SMTP Relay?
Using your own server to send email often results in delivery issues due to missing SPF, DKIM, and IP reputation problems.
Relaying email through a third-party SMTP provider helps ensure:
- Higher deliverability rates
- Built-in spam/abuse protection
- Reliable logging and analytics
- TLS encryption by default
🔧 Step-by-Step: Configure Postfix to Use an SMTP Relay
1. Install Required Packages
Ensure Postfix and necessary SASL tools are installed:
sudo apt update
sudo apt install postfix mailutils libsasl2-modules -y
For RHEL-based systems: sudo dnf install postfix cyrus-sasl-plain mailx2. Set Relayhost in Postfix
Open the Postfix main configuration file in vim:
sudo vim /etc/postfix/main.cf
Add or modify these lines at the end of the file:
# Enable SASL authentication
smtp_sasl_auth_enable = yes
smtp_sasl_password_maps = hash:/etc/postfix/sasl_passwd
smtp_sasl_security_options = noanonymous
smtp_sasl_tls_security_options = noanonymous
smtp_tls_CAfile = /etc/ssl/certs/ca-certificates.crt
smtp_use_tls = yes
smtp_tls_security_level = encrypt
relayhost = [smtp.mailgun.org]:587
Replace [smtp.mailgun.org]:587 with your provider's SMTP server and port.3. Create SASL Password File
sudo vim /etc/postfix/sasl_passwd
Add your SMTP login credentials in the following format:
[smtp.mailgun.org]:587 postmaster@yourdomain.com:yourpassword
You can get these credentials from your provider's dashboard. For Gmail, you'll need an App Password if 2FA is enabled.
4. Secure the Credentials
Generate the .db file used by Postfix:
sudo postmap /etc/postfix/sasl_passwd
Set proper file permissions:
sudo chmod 600 /etc/postfix/sasl_passwd /etc/postfix/sasl_passwd.db
5. Restart Postfix
Apply your changes by restarting the Postfix service:
sudo systemctl restart postfix
6. Test Mail Delivery
Send a test email:
echo "Postfix is now relaying through SMTP!" | mail -s "Test Email" your-email@example.com
Check the mail logs for delivery info:
sudo tail -f /var/log/mail.log
🔍 How to Dynamically Check Config Info
You can fetch the current user, hostname, and domain using:
echo $USER
hostname
hostname -d
To confirm that Postfix is reading the correct relayhost:
postconf | grep relayhost
🧠 Troubleshooting Tips
- SASL auth errors: Check
/var/log/mail.logfor authentication failures. - Relay denied: Ensure you’re using correct SMTP credentials.
- Firewall issues: Make sure your server can reach port 587 or 465 outbound.
- Gmail blocks: Use App Passwords and enable “less secure apps” if needed (deprecated).
🔒 Best Practices
- Never store your
sasl_passwdin version control. - Use environment-specific secrets managers if deploying via automation.
- Rotate SMTP passwords periodically.
✅ Conclusion
You've successfully configured Postfix to use a third-party SMTP relay with authentication and TLS.
This is crucial for reliable and secure email delivery in modern infrastructure.